This note briefly goes over the practical steps to configure, patch, and build the Linux kernel from upstream sources into a separate, easily maintainable boot entry for testing.
Please be aware that this note is just a quick personal reference, and does not neccessarily constitute good general practices (in fact it most certainly does not). For the official stance on how to do things properly, please refer to The Linux Kernel documentation.
The official administrator guide is available here.
Steps
The following are the needed steps in order to have a bootable kernel built and configured from the vanilla kernel sources, with an optional step for applying / reversing arbitrary patches.
Getting the Sources
There are a few different places and ways of browsing and obtaining the Linux sources. The primary downloads are available at kernel.org. For the source tree specifically, see Torvalds’ repository, or the Linux kernel source tree mirror at Github.
While the kernel.org pages provide downloads for mainline, stable, longterm, and rc releases. It’s also possible your flavour of Linux distribution provides packages for some source versions. On Gentoo, for example, you may take a look at sys-kernel/vanilla-sources for a portage integrated mechanism of pulling in a specific kernel source.
And don’t forget about the often needed linux-firmware, which can be found in its own kernel.org repository.
Environment Setup
The first step is to setup your environment so that your tree is in a stable location. If you use any kind of automated mechanism to obtain the sources, don’t use the output directory directly. Instead create a separate location (versioned or not) wherever is convenient, and copy the source tree there.
For the sake of this example, I’ve given the source tree the suffix “-example” like so:
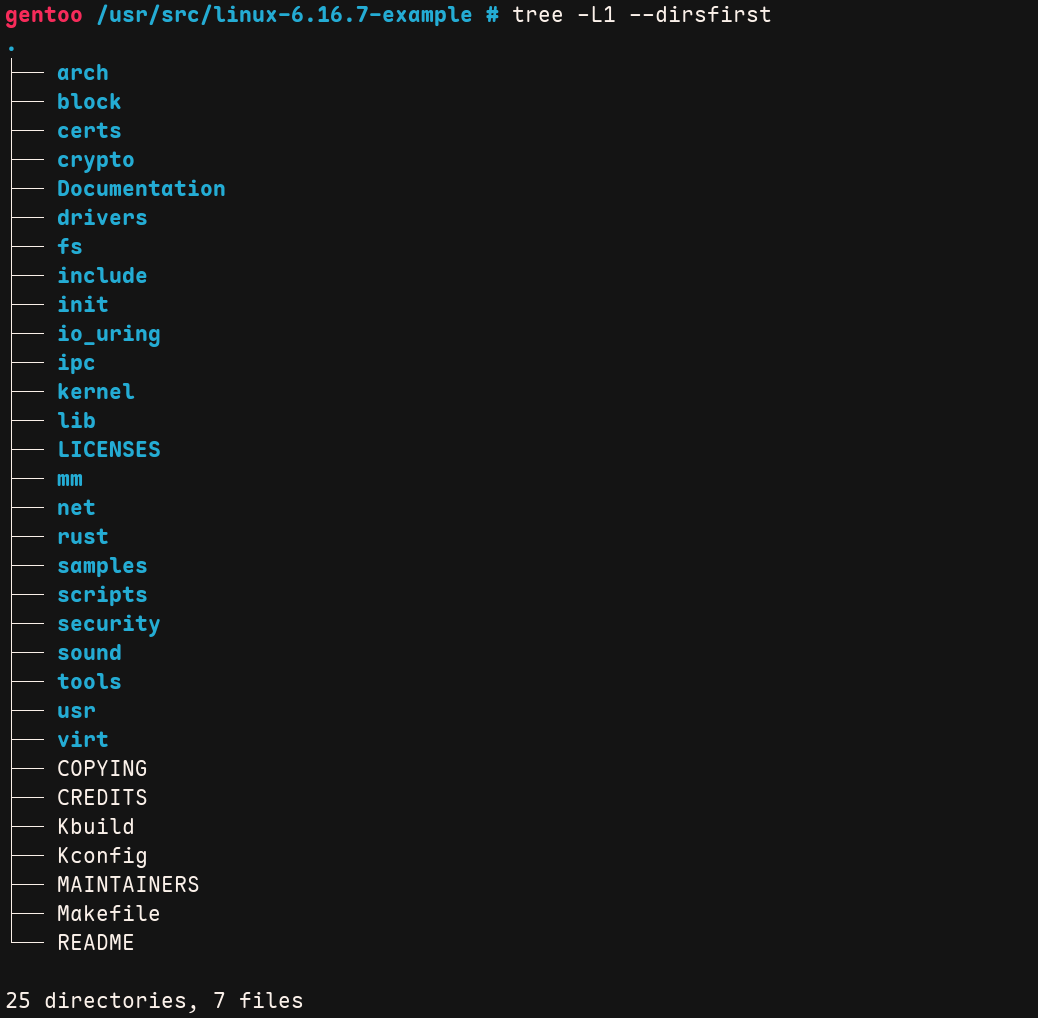
Now that your kernel sources are in a stable location and identifiable, we can proceed to configuration.
Note that from here on, I’ll be referring to the tree root path by $SRC_TREE .
Configuration
Before the kernel can be built, it needs to be configured for the hardware platform. This step includes enabling and disabling various features present in the kernel. The configuration process can take a lot of time and involve a lot of work depending on what the set goals are. Therefore it’s a good idea to first consider using safe defaults, or restoring settings from a known working configuration to get started.
The kernel configuration settings are stored inside a file at $SRC_TREE/.config, the file
can be opened in your preferred editor or cat’ed to inspect the contents.
If the file isn’t present, your kernel simply hasn’t been configured yet.
A swift way to get up running is to use an existing working kernel configuration as a base.
This is possible if the active kernel was configured with CONFIG_IKCONFIG_PROC. If it was, you
can copy the running kernel configuration to your new tree like so: zcat /proc/config.gz > $SRC_TREE/.config
(read more about this file via man 5 proc_config.gz).
After an old configuration has or hasn’t been restored, one of the following
make commands can be ran from $SRC_TREE to finish the configuration.
- Kernel Make Configuration Options
- make defconfig
- Generates a new .config by using default symbol values based on active architecture.
- make oldconfig
- Uses the existing .config file as the base, and adds anything that is missing while prompting the user.
- make olddefconfig
- Uses the existing .config file as the base, and adds anything that is missing, does not prompt the user, but instead uses defaults.
- make menuconfig
- Opens an interactive Terminal-Based User Interface (TUI) where the user can peruse by scope at their leisure.
- make randconfig
- Generate a new .config by setting random symbol values.
- make defconfig
For a complete list refer to the kernel admin-guide linked at the beginning of this note.
Use the LOCALVERSION setting to add a custom suffix to your kernel build, so its easier
to differentiate, and will at install time not overwrite other same version modules. This
reduces the risks of you getting stranded if the new build doesn’t work later!
Patching
If looking to use official patches to update between kernel releases, refer to the official documentation for accurate instructions!
If custom patches need to be applied from sources like mailing lists and issue trackers,
the patch program can be used. The program uses a difference listing created by diff to
apply a diff or set of diffs. The manual page for patch indicates that the program tries
to skip any leading and trailing garbage, so you should be able to just directly feed it the entire email
containing the patches.
Here’s an example of applying an arbitrary patch to the kernel from a plain-text email, when inside the $SRC_TREE directory:
# Apply an arbitrary patch
patch -p1 < /path/to/my/custom-patchfile.eml

# Reverse an arbitrary patch
patch -R -p1 < /path/to/my/custom-patchfile.eml
Building and Installing
After your kernel sources are configured and optionally patched, it’s time to build. Before building, be sure to check the official documentation for required software versions, so your build can succeed reliably.
A compressed kernel image can be created by running: make -j$(nproc), and to
install the kernel and modules, you should probably run the following two commands:
- Install Commands
make INSTALL_PATH=/efi/gentoo/6.16.7-example installmake modules_install
The INSTALL_PATH and INSTALL_MOD_PATH will depend on your distribution and boot configuration.
I’m using an UEFI-only system with ESP mounted at /efi, and the given example installs the new kernel
under the /efi/gentoo subdirectory –though you are free to create a separate subdirectory for
your custom kernel builds as well.
Booting
Now that the kernel is hopefully built and installed correctly in the correct place, it’s time to configure the boot manager and initramfs so it becomes possible to boot into it at startup.
Initramfs
Your system may require initramfs for additional kernel modules at boot time to get to an initialisable state. Some factors may include LUKS, LVM, ZFS, and other more exotic kernel and system configurations.
I happen to use dracut for initramfs generation. Below is a very common example on adding some cryptography
modules to your initramfs:
- Initramfs via Dracut
- Fragment contents in
/etc/dracut.conf.d/luks.conf, neccessary for boot time decryption before system init:add_dracutmodules+=" crypt crypt-gpg dm rootfs-block "
- Generate new initramfs for a target by running:
dracut -f /efi/gentoo/6.16.7-example/initramfs-6.16.7-example.img 6.16.7-example
- Fragment contents in
You can afterwards inspect the initramfs file with the lsinitrd tool. It’s output will look something like this:
Image: /efi/gentoo/6.16.7-example/initramfs-6.16.7-example.img: 84M
========================================================================
Early CPIO image
========================================================================
drwx------   3 root     root            0 Sep 18 21:04 .
-rw-------   1 root     root            2 Sep 18 21:04 early_cpio
drwx------   3 root     root            0 Sep 18 21:04 kernel
drwx------   3 root     root            0 Sep 18 21:04 kernel/x86
drwx------   2 root     root            0 Sep 18 21:04 kernel/x86/microcode
-rw-------   1 root     root       176162 Sep 18 21:04 kernel/x86/microcode/AuthenticAMD.bin
========================================================================
Version: dracut-106

Arguments:  -f

dracut modules:
bash
systemd

[...]
Boot entry
The last step is to configure the boot manager to either boot, or provide an option to boot into the new kernel at startup.
I’m currently using systemd-boot, so my boot entries are available under /efi/loader/entries,
and an example entry linux-example.conf looks something like:
title    My Example Kernel
linux    /gentoo/6.16.7-example/vmlinuz-6.16.7-example
initrd   /gentoo/6.16.7-example/initramfs-6.16.7-example.img
options  rd.luks.uuid=xxx root=UUID=yyy
The initrd and options fields can be omitted if you don’t need to specify initramfs or kernel command line options, respectively.
Booting
With that everything should be complete, and its time to reboot to the new kernel. If your boot manager provides you with the new option and you get to your environment in one piece, chances are that at least something went well.
Running uname -srv should now print something like:
Linux 6.16.7-example #3 SMP PREEMPT_DYNAMIC Thu Sep 18 20:49:08 EEST 2025
You can now celebrate, but should still verify that all the hardware and interfaces you need function correctly. If not, you’ll need to see what kernel configurations you missed and regenerate.